
Cocoa-Caramel Thumbprints
- Cranberry Walk

- Dec 12, 2019
- 3 min read

It's no surprise that so many of us love chocolate cookies. I do too, but I like them best when there is something else in the mix. Since the boys suggested a caramel cookie, I decided that Cocoa-Caramel Thumbprints fit the bill. A chocolate-chewy cookie surrounds a caramel filling. With a thumbs up from the boys, all I need is a cup of coffee and I'm good to go.
Ingredients for Cocoa-Caramel Thumbprints:
yields approximately 58 cookies
Cookie:
2 2/3 cups flour
1/3 cup Dutch Cocoa
1/2 teaspoon salt
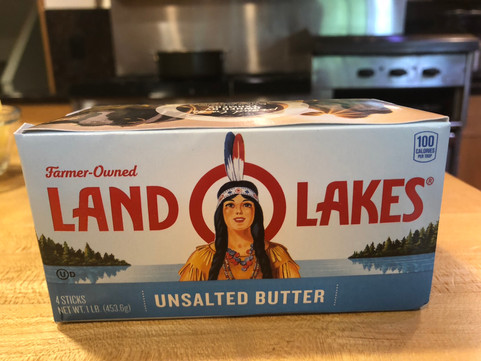
2 sticks unsalted butter,
1 cup sugar
1 large egg
2 teaspoons vanilla
Filling:
9 ounces caramels, unwrapped
4 tablespoons + 1 1/2 teaspoons half and half
Drizzle Topping:
2 ounces bittersweet chocolate
Time-Saving Tip: The cookies can be baked and filled a few days in advance. Pack them in a single layer separated with wax paper in a sealed container.
Let's see what we need.


We're ready to bake.


Combine the flour, salt, and cocoa; set aside.


Beat the butter for 30 seconds and then add the sugar. Beat until fluffy and add the egg and vanilla. Beat until combined and gradually add the flour mixture until just combined.


Chill the dough for at least an hour. Shape into even-sized balls and transfer to parchment-lined sheet pans. Use your thumb to make an indentation in the center of each dough ball. Bake in a preheated 350-degree oven until cookie is firm to the touch; this will take 7-10 minutes. Cool for a minute and then gently press the indentation with a finger or the back of a coffee scoop, thoroughly cool the cookies.


Add the caramel to a microwave-safe bowl and add the cream. Microwave for 2 minutes on high and then stir. Microwave another minute and then stir. By now ,the candy will be melted, return to the microwave another 30 seconds, so it bubbles.


Carefully, fill the cookies with the caramel.


Once the cookie and filling have cooled, melt the chocolate, Microwave the chocolate for 45 seconds until melted, try to stir the chocolate; if it doesn't completely melt as you stir, you might need to return it to the microwave for a few seconds.


Dip a fork into the melted chocolate and wave it over the cookies going back and forth until the cookies are coated.
They're ready! Cocoa-Caramel Thumbprints are delicious. The combination of the chocolate and caramel is a match made in heaven. These are perfect to share with friends.
Enjoy!
Cocoa-Caramel Thumbprints:
yields approximately 58 cookies
Cookie:
2 2/3 cups flour
1/3 cup Dutch Cocoa
1/2 teaspoon salt
2 sticks unsalted butter,
1 cup sugar
1 large egg
2 teaspoons vanilla
Filling:
9 ounces caramels, unwrapped
4 tablespoons + 1 1/2 teaspoons half and half
Drizzle Topping:
2 ounces bittersweet chocolate
Combine the flour, salt, and cocoa; set aside.
Beat the butter for 30 seconds and then add the sugar. Beat until fluffy and add the egg and vanilla. Beat until combined and gradually add the flour mixture until just combined.
Chill the dough for at least an hour. Shape into even-sized balls and transfer to parchment-lined sheet pans. Use your thumb to make an indentation in the center of each dough ball. Bake in a preheated 350-degree oven until cookie is firm to the touch; this will take 7-10 minutes. Cool for a minute and then gently press the indentation with a finger or the back of a coffee scoop, thoroughly cool the cookies.
Add the caramel to a microwave-safe bowl and add the cream. Microwave for 2 minutes on high and then stir. Microwave another minute and then stir. By now ,the candy will be melted, return to the microwave another 30 seconds, so it bubbles.
Carefully, fill the cookies with the caramel.
Once the cookie and filling have cooled, melt the chocolate, Microwave the chocolate for 45 seconds until melted, try to stir the chocolate; if it doesn't completely melt as you stir, you might need to return it to the microwave for a few seconds.
Dip a fork into the melted chocolate and wave it over the cookies going back and forth until the cookies are coated.
Time-Saving Tip: The cookies can be baked and filled a few days in advance. Pack them in a single layer separated with wax paper in a sealed container.


Comments